传递日志
此功能可以让你在服务端和客户端之间传递日志内容。
初始化
在项目的入口文件中引入~console进行初始化,以下是在一些框架中的示例:
vue
<!-- app.vue -->
<script setup lang="ts">
import '~console'
</script>
svelte
<!-- +page.svelte -->
<script lang="ts">
import '~console'
</script>
tsx
// entry-client.tsx
import { StartClient, mount } from '@solidjs/start/client'
import '~console'

mount(() => <StartClient />, document.getElementById('app')!)~console 是什么?
传递日志的功能是基于 WebSocket 实现的,~console 则是一个虚拟模块,它的作用是让客户端与服务端之间建立 websocket 连接。你可以查看源代码了解更多细节。
服务端 → 客户端
在服务端,用 client 来替换console。
以下是在Nuxt中的示例:
ts
import { client } from 'unplugin-turbo-console/helper'
import { defineEventHandler } from 'h3'
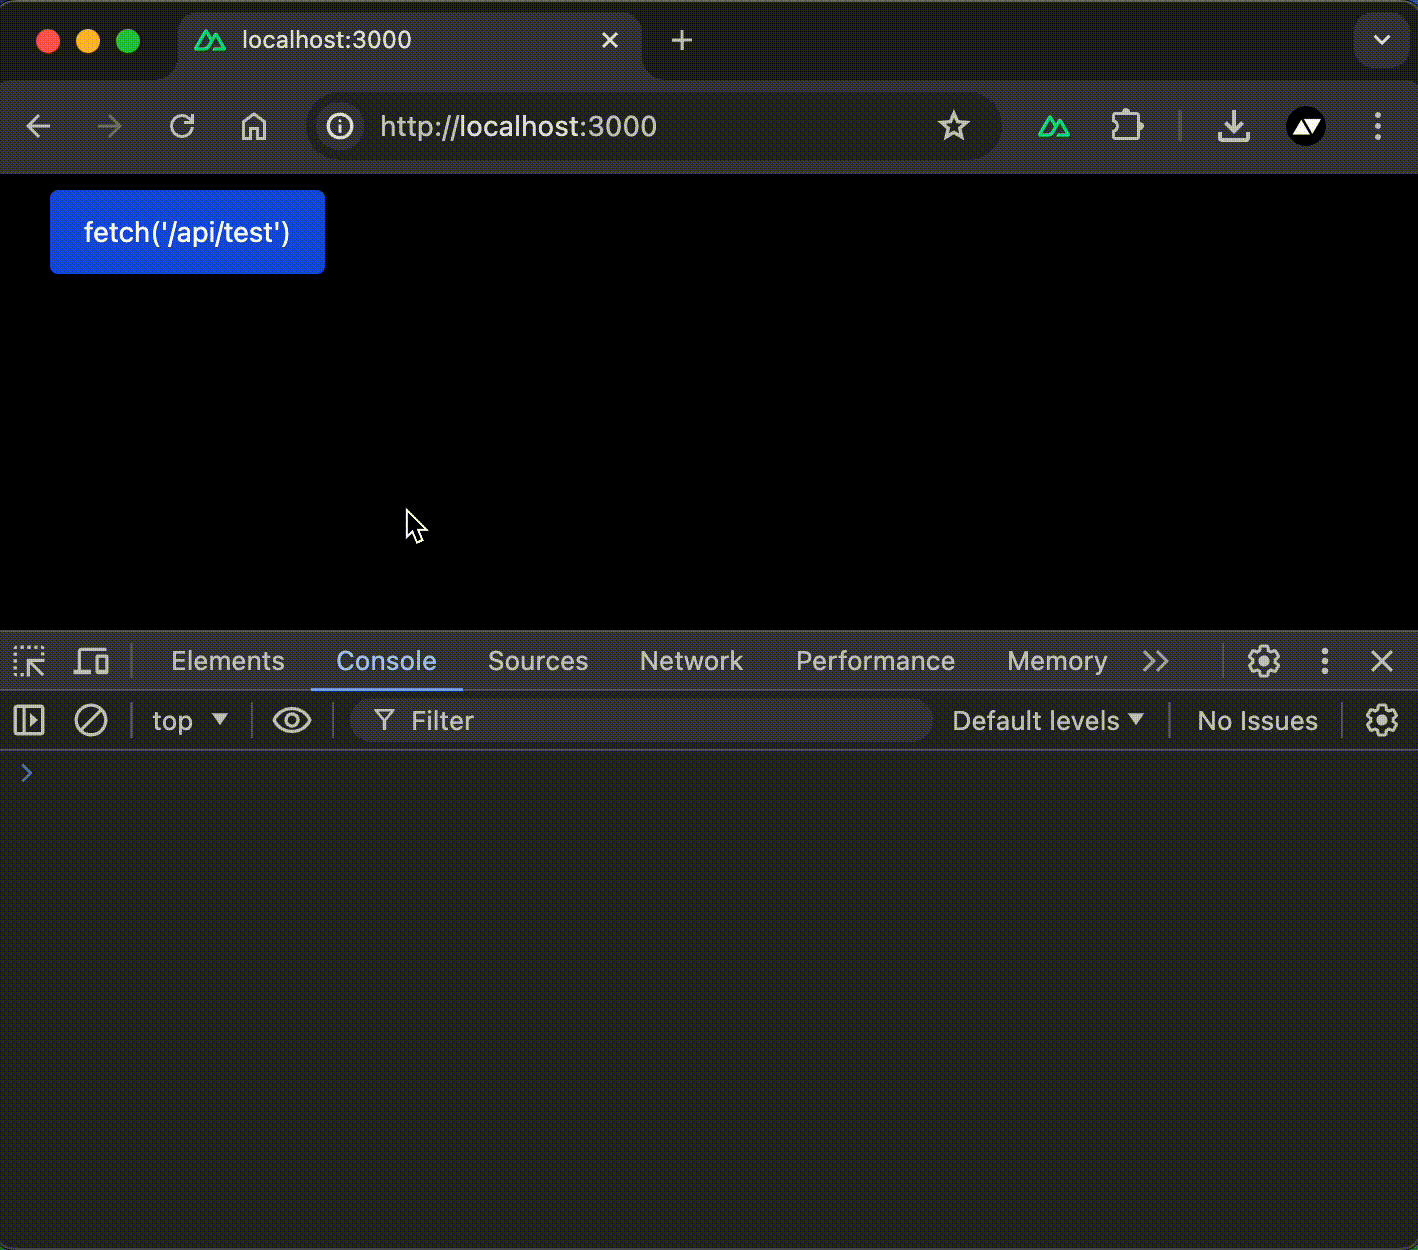
export default defineEventHandler(async (event) => {
const raw = await fetch('https://jsonplaceholder.typicode.com/users')
const data = await raw.json()
client.log({ data })
client.warn('A warning message from server!!')
client.error('An error message from server!!')
return {
data
}
})
客户端 → 服务端
在客户端,用 server 来替换console。
示例:
vue
<script setup lang="ts">
import { server } from 'unplugin-turbo-console/helper'
import { ref } from 'vue'

const count = ref(0)

function increment() {
  count.value++
  server.log(count.value)
}
</script>

<template>
  <div>
    {{ count }}
  </div>
  <button @click="increment">
    +
  </button>
</template>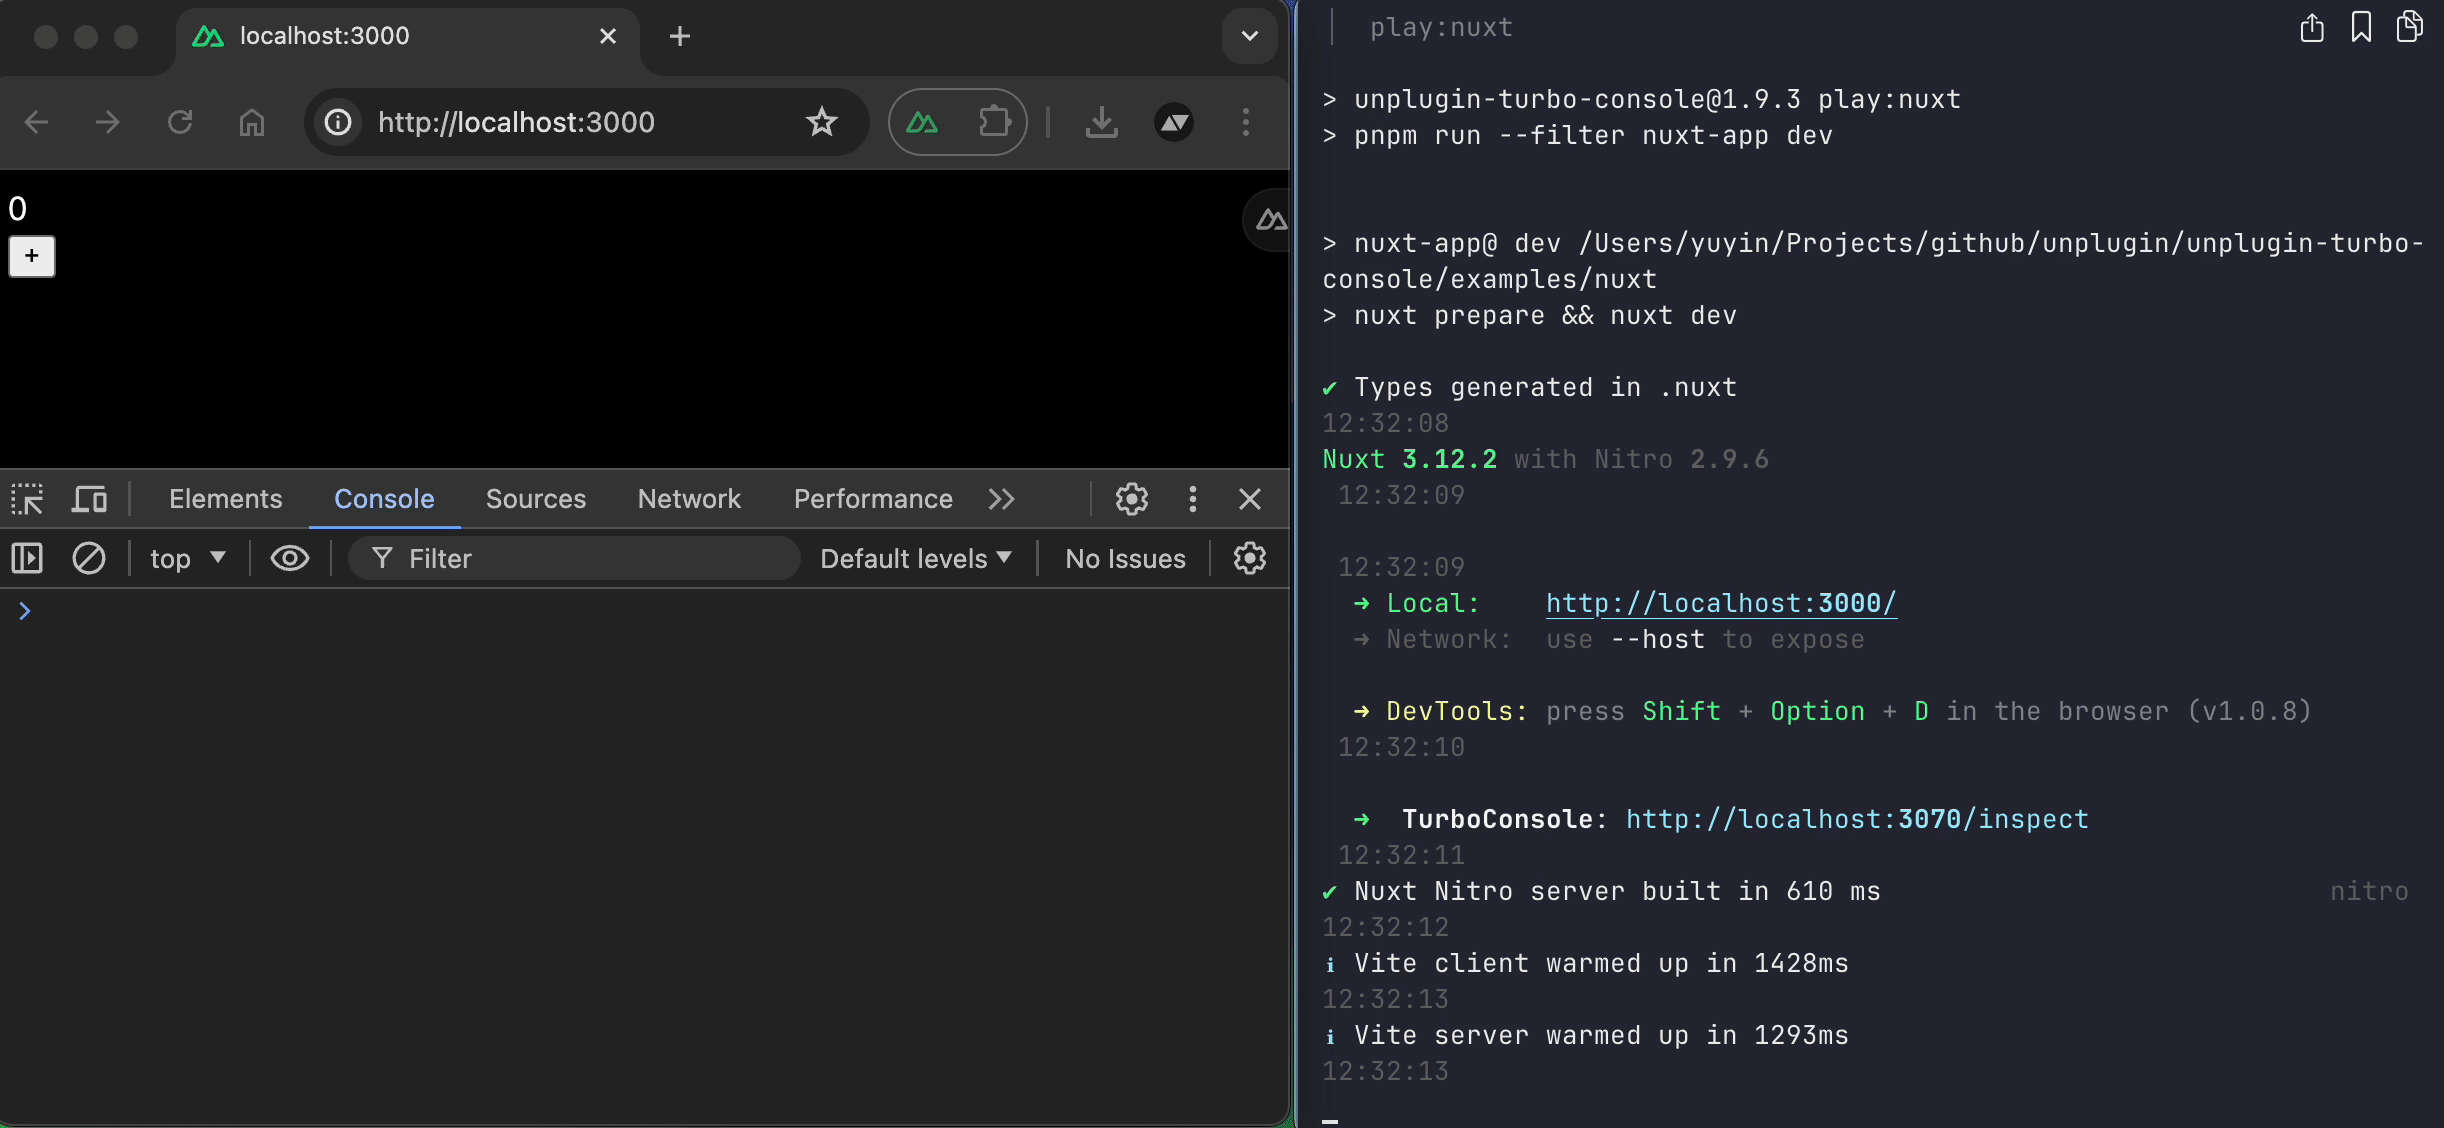
Nuxt 用户
如果你在使用 Nuxt ,client 和 server 是自动导入的。因此,您无需手动导入它们。
配置项
js
// 禁用传递日志功能
TurboConsole({
  passLogs: false,
})